As a developer, the best way to do Bitcoin development is to use the test networks that exist for that purpose. It follows from this, that if there is a test network that has simulated high load at various levels over time, that this provides a invaluable location to test under more realistic conditions. And there is such a network, the scaling test network (otherwise known as the STN).

Featured content from the scaling test network web site.
It is possible to run ElectrumSV against any of the test networks. And being able to select when you run it, which it runs against, provides a flexible way to use ElectrumSV with any network when the need arises. The primary use that anyone might make of ElectrumSV is to manage coins.
Connecting ElectrumSV to the STN
When you run ElectrumSV, it will run against the main network by default. This is where the official Bitcoin SV coins exist. In order to run ElectrumSV against the STN, a user needs to provide it with a command-line argument.
Running in Scaling Testnet mode
There are many ways that you could run ElectrumSV on both your platform and your environment, and the examples below can be used as a starting point. The key thing shown is that as long as you are able to work out how to run from your command-line, you need to use the --scaling-testnet argument when you do so.
If you are running a Windows build you might use the following command:
ElectrumSV-1.3.17-portable.exe --scaling-testnet
If you are running on macOS or Linux, you might use the following command:
electrum-sv --scaling-testnet
And if you are running from source code on Windows, you might use the following command:
py -3 electrum-sv --scaling-testnet
Configuring the server
At this time, due to technical difficulties the ElectrumSV hosted scaling testnet server is offline. However, you can connect to a server offered by the satoshi.io service. You will need to configure your ElectrumSV instance to know about this server.
First identify the location of your data directory:
- If you are running in portable mode, which you won't be unless you know you are, it will be in your current directory.
- If you are running on Windows, it will be in c:\users\<username>\AppData\Roaming\ElectrumSV.
- If you are running on MacOS or Linux, it will be in ~/.electrum-sv/.
Within your data directory, there should be a scaling-testnet sub-directory. Within this, there is a config file. This is in the JSON format, and you will need to make sure you maintain the format as you would when you edit any JSON file.

The config file location on Windows.
You should find entries for the currently offline default server stn-server.electrumsv.io. Replace stn-server.electrumsv.io with electrumx.stn.sv.
Potential problem - The data directory is missing
If you have not found a data directory, it is possible that you have not run ElectrumSV yet. If you do run ElectrumSV and even if it cannot find servers, it will create the data directory as one of the first things it does. Do that, and then shut down ElectrumSV.
Potential problem - The scaling-testnet sub-directory is missing
The scaling-testnet sub-directory will only be created if you have run in STN mode using the --scaling-testnet command-line argument as shown above.
Blockchain synchronisation
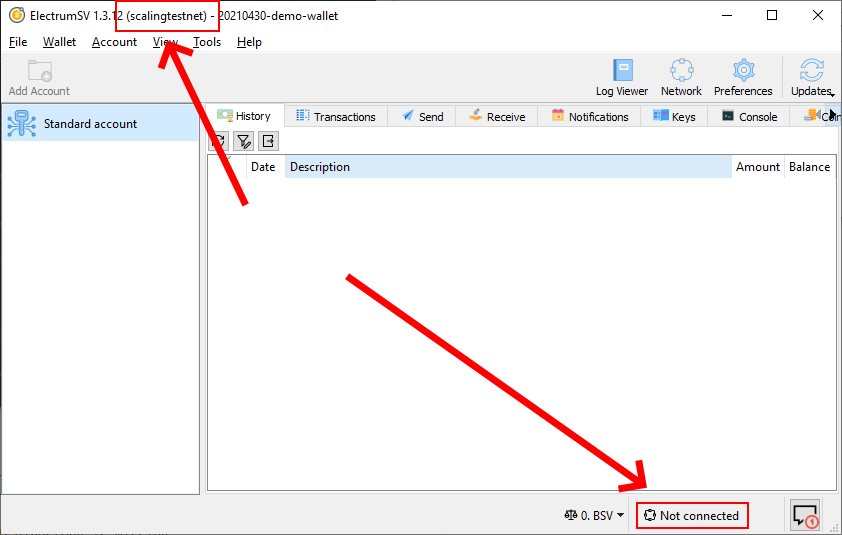
When you run ElectrumSV it will connect to the server and proceed to obtain all the blockchain headers for the scaling testnet network. Until it has done obtained all the headers it will appear as "Not Connected", but you can confirm that it is in STN mode by looking at the title bar and seeing "scalingtestnet" and not "testnet or "mainnet".

The headers are being synchronised for the STN.
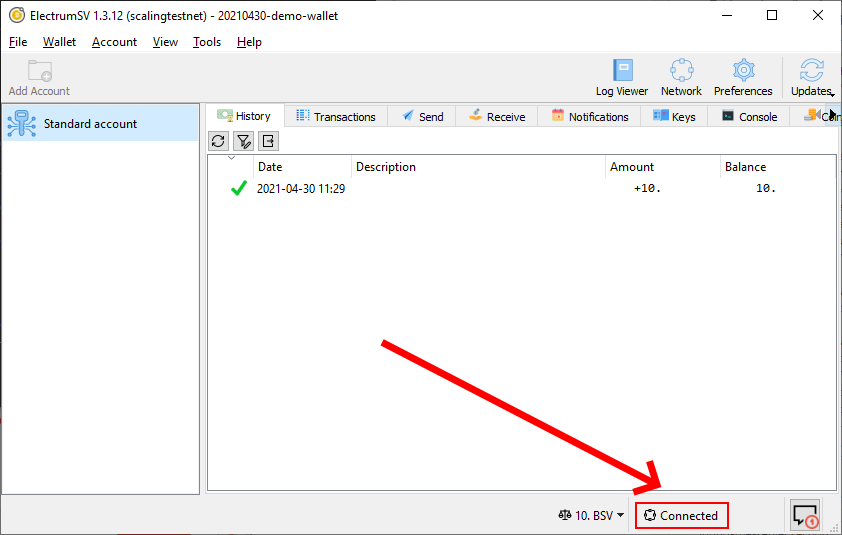
ElectrumSV will switch to a "Connected" state once it has all the headers for the current STN blockchain.

The headers are being synchronised for the STN.
Obtaining STN coins
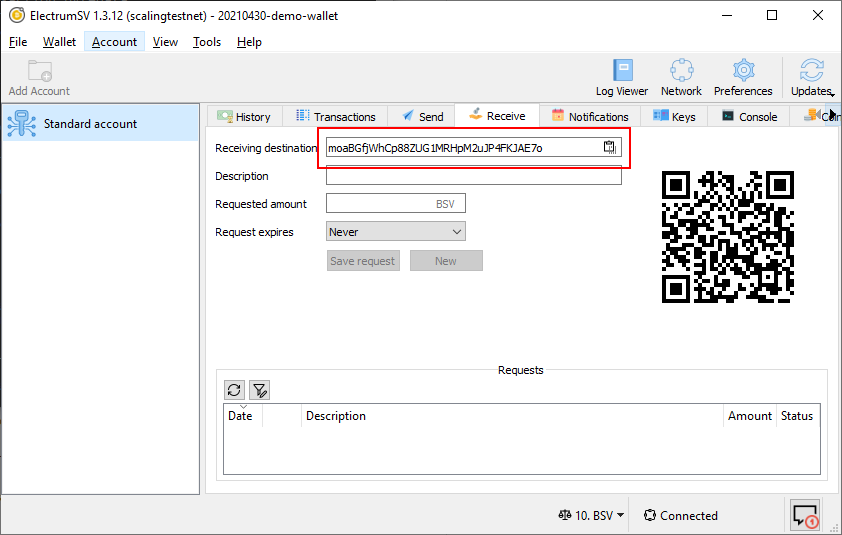
For now the best way to obtain coins to test with on the STN is to submit a Github issue. on the ElectrumSV project, and to request them. Provide an address from your STN account in the issue for the coins to be received in.

Give an address to receive coins in.
Note that STN addresses are in the same format as testnet addresses, so if you do run in testnet mode and may have accidentally done so, check your title bar to confirm which network you are connected to.